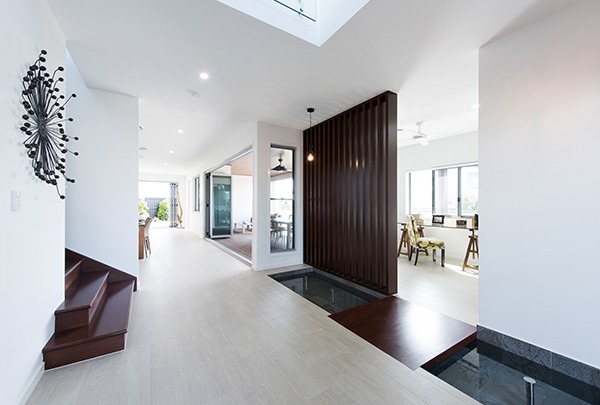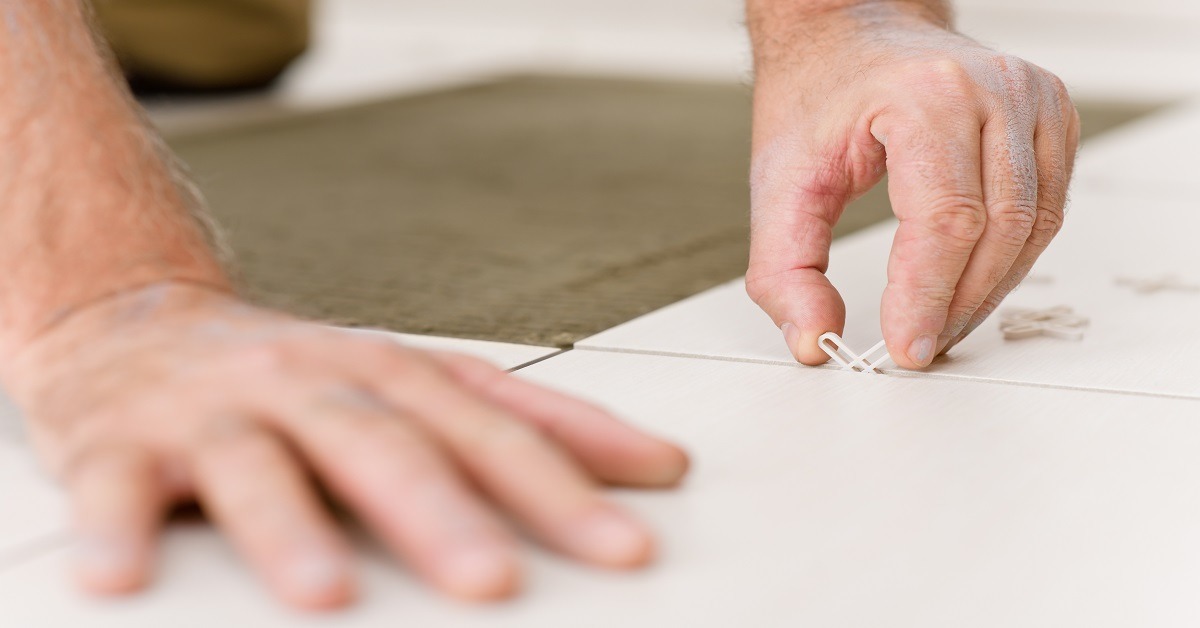
DIY floor tiling is a great way to give a space a makeover, whether it’s a kitchen, bathroom or laundry. But even more important than laying the tiles is prepping the floor itself. Get this part wrong and all your hard efforts could be for nothing. Keep reading for our step-by-step guide on preparing your floor for tiling.
Step 1: Planning Time & Tiles
Depending on the size of the room it will take a few days to prep the floor as you need to factor in drying times. You won’t be able to immediately walk on the floor once it’s tiled either, something to keep in mind if it’s a family bathroom. Choose the tile for your project in advance rather than ordering it mid-prep to keep the project flowing. Determine how many tiles you need by multiplying the length of the floor by the width, add 10% extra to be on the safe side.
Step 2: Remove Old Flooring
You will probably have some kind of existing flooring in the space. If it’s vinyl or tile you can technically lay new tile over this but the subfloor needs to be in good condition. The best way to check this is to remove the old flooring completely. This part can get messy. For lino you’ll need a utility knife and a heat gun to soften the old glue so you can pull it up. Use a hammer and chisel to break up the grout lines of old tiles and get the chisel in underneath to pry them up. Use a floor scraper to remove any old glue or grout off the floor.
Step 3: What kind of subfloor do you have?
Subfloors are typically either wood or concrete. Now is the time to make repairs to the subfloor depending on its condition. Concrete floors may have minor cracks that need patching with a cement filler. Wood floors may need parts replaced. You want your subfloor to have a decent thickness, be clean, dry, level and clear of adhesive residue.
Step 4: Self-leveling compound
If your subfloor has any dips or low spots, use a self-leveling compound to even it out. This can be poured over the entire surface if it has several uneven spots. If you have only a few dips or low spots, you can treat just concentrate on those areas. Mix the leveler in a bucket according to the manufacturer’s instructions. Leave the compound to dry overnight, unless you have the quick drying kind (not recommended if it’s your first time using it!).
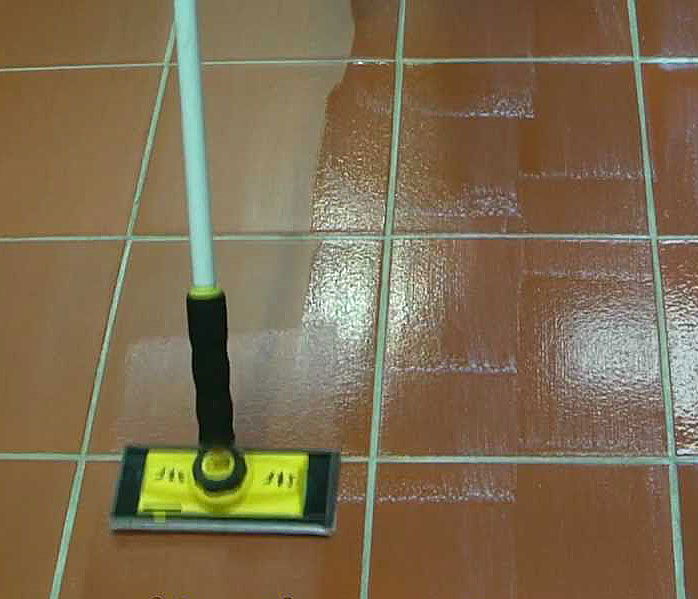
Step 5: Waterproofing
If you’re tiling a bathroom, kitchen, laundry, or any flooring that will come into contact with water, then it will need to be properly waterproofed. In Queensland you can only do this yourself if you’re a licensed waterproofer. If you’re not then you’ll have to get one in. This is because properties have sustained water damage in the past due to faulty waterproofing. Once this is dry you can start laying your tiles.
If you decide laying tiles is a job best left to professionals, there are plenty of licensed tilers out there who will be only to happy to help you out. Feel free to drop into our showroom for any advice or to check out our range of latest tile looks.